Trending

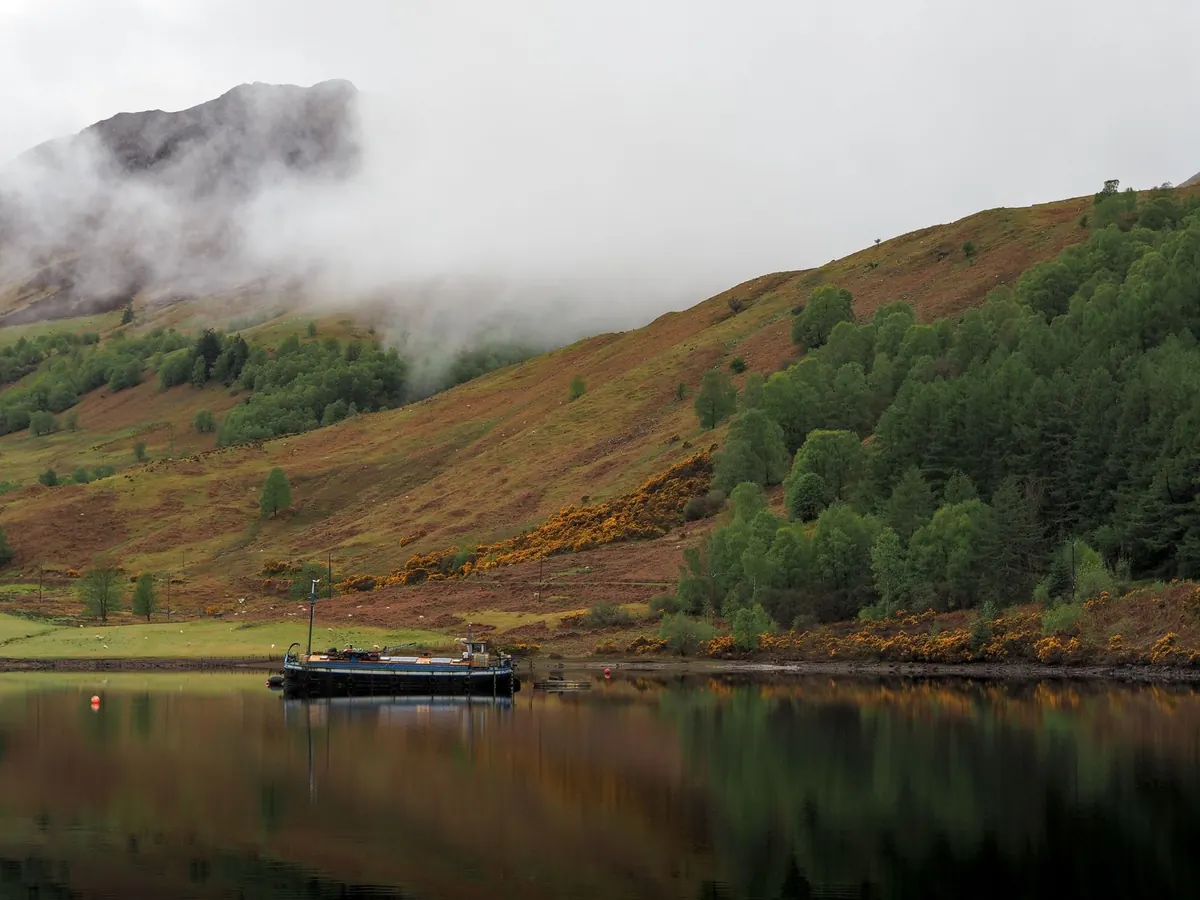
The Highlands in mist are quieter than most photographs manage to suggest. You leave the car before light, walk a mile up a glen, and the hills you came for have gone: grey shapes fading into one another, a wet path, the sound of water you cannot quite see. It is also one of the best conditions you can shoot in with a phone. Mist strips out clutter and lets shape, tone and distance do the work.
Your phone wants to brighten a grey scene, and it wants to keep the sky white. Both instincts work against you in fog. Tap on the brightest part of the picture that still needs detail — a ridge line, a band of cloud sitting on a hill — then drag the exposure slider down until pale areas hold texture instead of turning into flat white. Half a stop under the phone's first guess is usually closer to what you actually saw.
If a low sun is burning through the mist, you have two workable pictures. Put the light behind your shoulder for soft, even layers. Shoot into it for glow and long shadows across the ground, accepting that the mist goes bright and everything else falls dark. Long-press the screen to lock focus and exposure before you recompose, so the phone stops hunting for focus on a moving patch of cloud and changing brightness between frames.
Fog turns a landscape into shelves, each ridge paler than the one in front of it. That is the whole trick, and everything else is arranging the frame around it.
Get low. Kneel in the heather or rest the phone on a rock. Something sharp and near — tussock grass, wet stones, a gate, the edge of a lochan — gives the eye a starting point and makes the softness behind it read as depth rather than a blurred mistake. Without a foreground, a foggy shot is often just a grey rectangle with a slightly darker grey stripe in it.
Look for bands of hill at different distances, then wait for the moment when each one shows against the next. Zooming to 2x or 3x, if that lens is optical rather than digital, compresses those layers and stacks them up. One frame of four ridges fading into each other is usually worth more than a wide view in which none of them register.
Most disappointing mist shots are made by defaults, not by the photographer. Sort these out while you are still in the driver's seat:
Low visibility rewards restraint. One birch. A footbridge. A walker on the path, small in the frame, giving scale to a hill you can barely make out. Leave the grey space empty — in these conditions the emptiness is part of the subject, not wasted room.
Leading lines matter more than usual because they suggest what you cannot see: a path, a burn, a fence line, the curve of a shore. Look for colour as well. Orange bracken, a red jacket, a blue bothy door — a single patch of warmth against all that grey holds the eye. Keep an eye on the top of the frame, too. If it is a blank white band, tilt down or plan to crop, because no amount of editing will put anything in that blank white band. Better to reframe now and keep the composition tight.
The temptation with a flat grey file is to drag the shadows up and the highlights down until everything is visible. That kills the fog. Instead, keep the tones compressed, deepen the darkest foreground slightly, and let the far ridges stay pale. If your editing app has a "dehaze" slider, use it with care — a little can separate layers, too much turns the mist into dirty smoke. Add a touch of contrast in the midtones, not globally, and avoid saturation boosts. Mist is almost colourless; a small increase in vibrance can bring out the subtle greens of wet moss and the rust of dead bracken without making the scene look tropical.
Foggy mornings in the Highlands are a natural fit for monochrome. Without colour to distract, the layers of ridges and the texture of foreground rocks become the story. Convert in your app, then adjust the colour channels if you can — pushing reds darker can make heather look like storm clouds, while lifting greens can separate grass from stone. Add grain if you want a more film-like feel, but keep it subtle. The goal is not to hide the fog but to celebrate its softness.
One foggy frame can be beautiful, but a sequence tells the story of the walk. Start wide to show the enveloping grey, then move closer to details: water droplets on a spiderweb, the curve of a path disappearing, a single tree. Change your angle — from low to eye level — and vary the zoom. When you get home, you can edit them as a set, keeping the same cool, low-contrast look. That consistency is what makes a collection feel intentional rather than a lucky accident.
Photo: Christopher More / Pexels