Trending

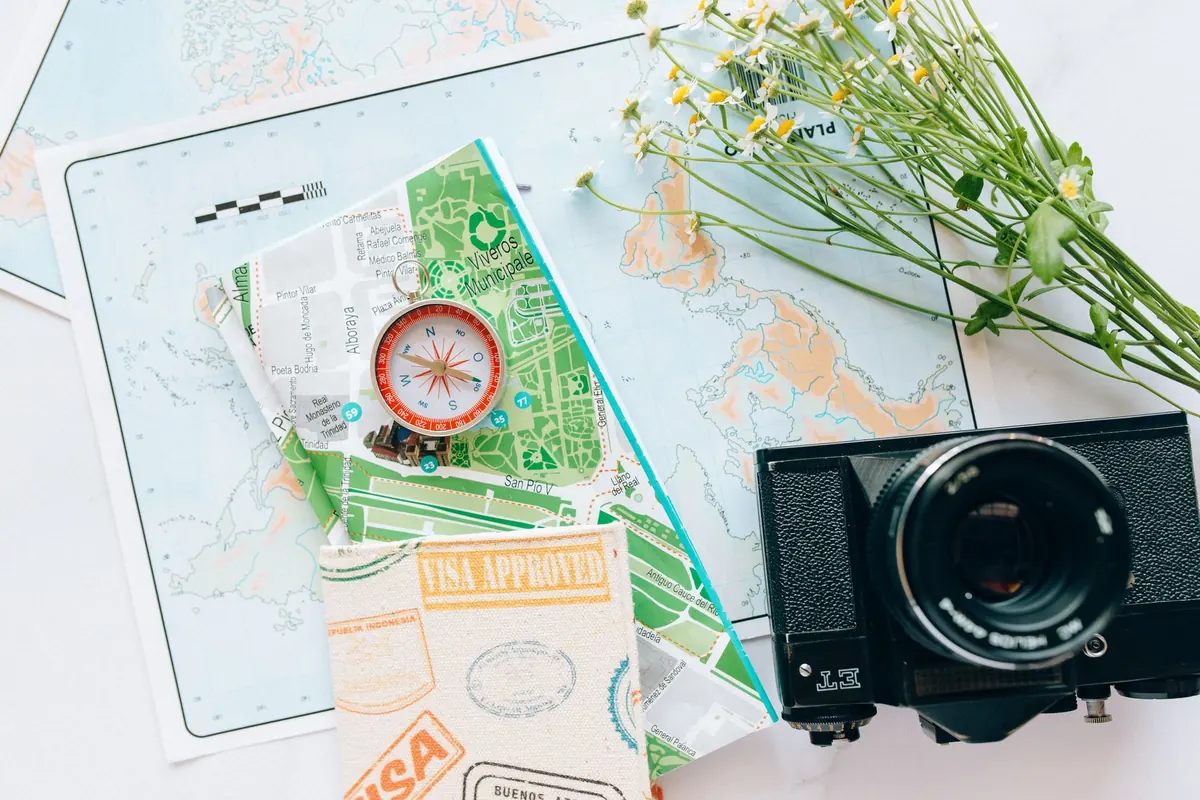
The Peak District rewards walkers who plan. A loop from Edale over Kinder Scout, a circuit round Stanage Edge, or a gentler ramble through Dovedale all depend on one thing: knowing where you are, where you are going, and how to get back if the weather turns. A paper map and a compass will not run out of battery, will not lose signal in a clough, and will not tempt you into following a dotted line on a screen straight into a bog. Here is how to plan a circular walk properly, from the kitchen table to the last stile.
For the Peak District you want the Ordnance Survey Explorer series at 1:25,000. Sheets OL1 (Dark Peak), OL24 (White Peak), and OL1 covers Kinder, Bleaklow and the Hope Valley. The 1:25,000 scale shows field boundaries, walls, footpaths and contour lines clearly enough to plan a loop without guessing. If you prefer the wider view, Landranger 1:50,000 works, but the detail is thinner and paths in access land can be harder to follow.
Pick a start point with a car park, a bus stop or a train station. Edale, Hathersage, Bakewell, Castleton and Hayfield all work well. Note the grid reference of where you will leave the car or step off the bus. Write it down. It is your anchor for the whole day.
Spread the map out and look at the shape of the land. Contour lines close together mean steep ground. Blue lines are water, and in the Dark Peak a stream crossing can mean a knee-deep bog in winter. Green hatching is access land; purple is open access. Public footpaths are dashed green, bridleways are dashed orange, and byways are usually marked with a cross-hatch.
Trace a loop with your finger. Ask three questions:
A good circular walk has a rhythm. Climb early while legs are fresh, walk the ridge or the tops in the middle, and descend on a clear path when tiredness creeps in. Avoid finishing with a steep, pathless descent at dusk.
Mark your route on the map with a pencil or a thin highlighter. Then write a short route card. Use six-figure grid references for key points: start, each significant turn, a lunch spot, any tricky junction, and the finish. For example, the path junction near Upper Booth might be SK 104 847. Read it eastings first, then northings — along the corridor, then up the stairs.
Add a bearing for any leg where the path is faint or the visibility poor. To take a bearing from the map: place the compass baseplate edge along the line of travel, with the direction-of-travel arrow pointing the way you want to go. Turn the bezel until the orienting lines line up with the map's grid lines and the orienting arrow points to the top of the map. Read the number at the direction-of-travel arrow. That is your grid bearing. In the Peak District, add roughly two degrees to convert to a magnetic bearing (magnetic north sits a little west of grid north in this part of the country), but for most day walks on good paths the difference is small enough that careful map reading matters more than the exact figure. Check the current variation printed on the map's margin before you rely on it.
Every walk should have at least one bail-out. On Kinder, that might be the path down to Edale via Grindsbrook rather than continuing across the plateau. On Stanage, it might be dropping off the edge to the road. Mark these on the map in a different colour and note them on your route card.
Think about what could go wrong. A twisted ankle, a sudden mist, a group member running out of energy. If the answer is "we would just keep going", the route is too committed. Add a shorter version of the loop that cuts back along a valley or a bridleway.
Look at the forecast the evening before and again on the morning. The Peak District makes its own weather; it can be clear in Bakewell and blowing a hoolie on the Great Ridge. Check wind speed and direction, chance of rain, and visibility. Low cloud on the tops turns a straightforward path into a compass exercise.
Consider the season. After heavy rain, peat bogs on Bleaklow and Kinder hold water for days. In winter, north-facing slopes keep ice long after the roads are clear. In summer, bracken can hide paths and ticks are active in long grass. None of this should stop you walking; it should shape where you go and what you carry.
Take the map in a waterproof case, a compass you have practised with, and a spare. Add a headtorch, a whistle, a small first-aid kit, water, food, and a warm layer even on a sunny day. A paper map does not need charging, but your phone might be useful as a backup; keep it warm and off until needed.
Work out timings honestly. A common rule for hill walking is around three kilometres per hour on rough ground, plus one minute for every ten metres of ascent. A ten-kilometre loop with 500 metres of climbing is roughly four hours of walking before stops. Add time for photos, lunch, and the inevitable pause to check the map.
Set the map to the ground constantly. Hold the compass flat, let the needle settle, and turn the map until its grid lines align with the needle and the map's north matches magnetic north as closely as your variation allows. Then compare what you see with what is drawn.
Use handrails — walls, streams, fences, edges — to guide you. Use catching features — a road, a ridge, a plantation — to stop you overshooting. Tick off features as you pass them. If the map says a footbridge should appear and you have walked ten minutes without one, stop. Re-check. Ask where the last certain point was.
Before you lock the car or leave the station, confirm three things: your start grid reference, your first compass bearing, and your escape route. Tell someone at home where you are going and when you expect to be back. If you are walking alone in remote areas, consider carrying a personal locator beacon or checking in with a friend at a set time. The best circular walks are the ones where the planning fades into the background and the walking takes over. A paper map and a compass, used well, are what let that happen.
Photo: Nataliya Vaitkevich / Pexels